FIG. 05 · PROSTHETIC HAND · HAPTIC FEEDBACK
robotic prosthetic hand
a 5-finger articulated prosthetic that maps FSR fingertip sensors to vibration motors on the forearm, so the user can actually feel how hard they're gripping. summer side project that grew up.
the idea
summer of 2024 i started designing a robotic prosthetic hand that lets users feel what they’re touching through haptic feedback. simple goal, real impact: help people with prosthetic hands feel pressure and texture through their fingertips, restoring a sense of touch that’s usually lost.
working on this with two fellow mech-e students at rice: veer khona and eddie zheng. what started as a summer-boredom project has turned into a real design challenge combining mechanical design, electronics, and human-centered engineering.
specs
- 5
- ARTICULATED FINGERS
- 90°
- RANGE OF MOTION / JOINT
- 0–10 N
- GRIP PRESSURE DETECTION
- 6
- DESIGN ITERATIONS SO FAR
key components
- control: arduino uno processing sensor data at 100 Hz with PID control
- sensors: FSR Model 402 force-sensitive resistors at each fingertip, ±5% accuracy across 0–10 N
- actuation: servo motors in the forearm pulling fishing line through finger segments
- haptic feedback: vibration motors (0–255 PWM) on the forearm, proportional to grip force
- return: rubber bands with custom hook design for elastic return to open position
- structure: 3d-printed components designed in fusion 360 with male/female joint system
design + CAD
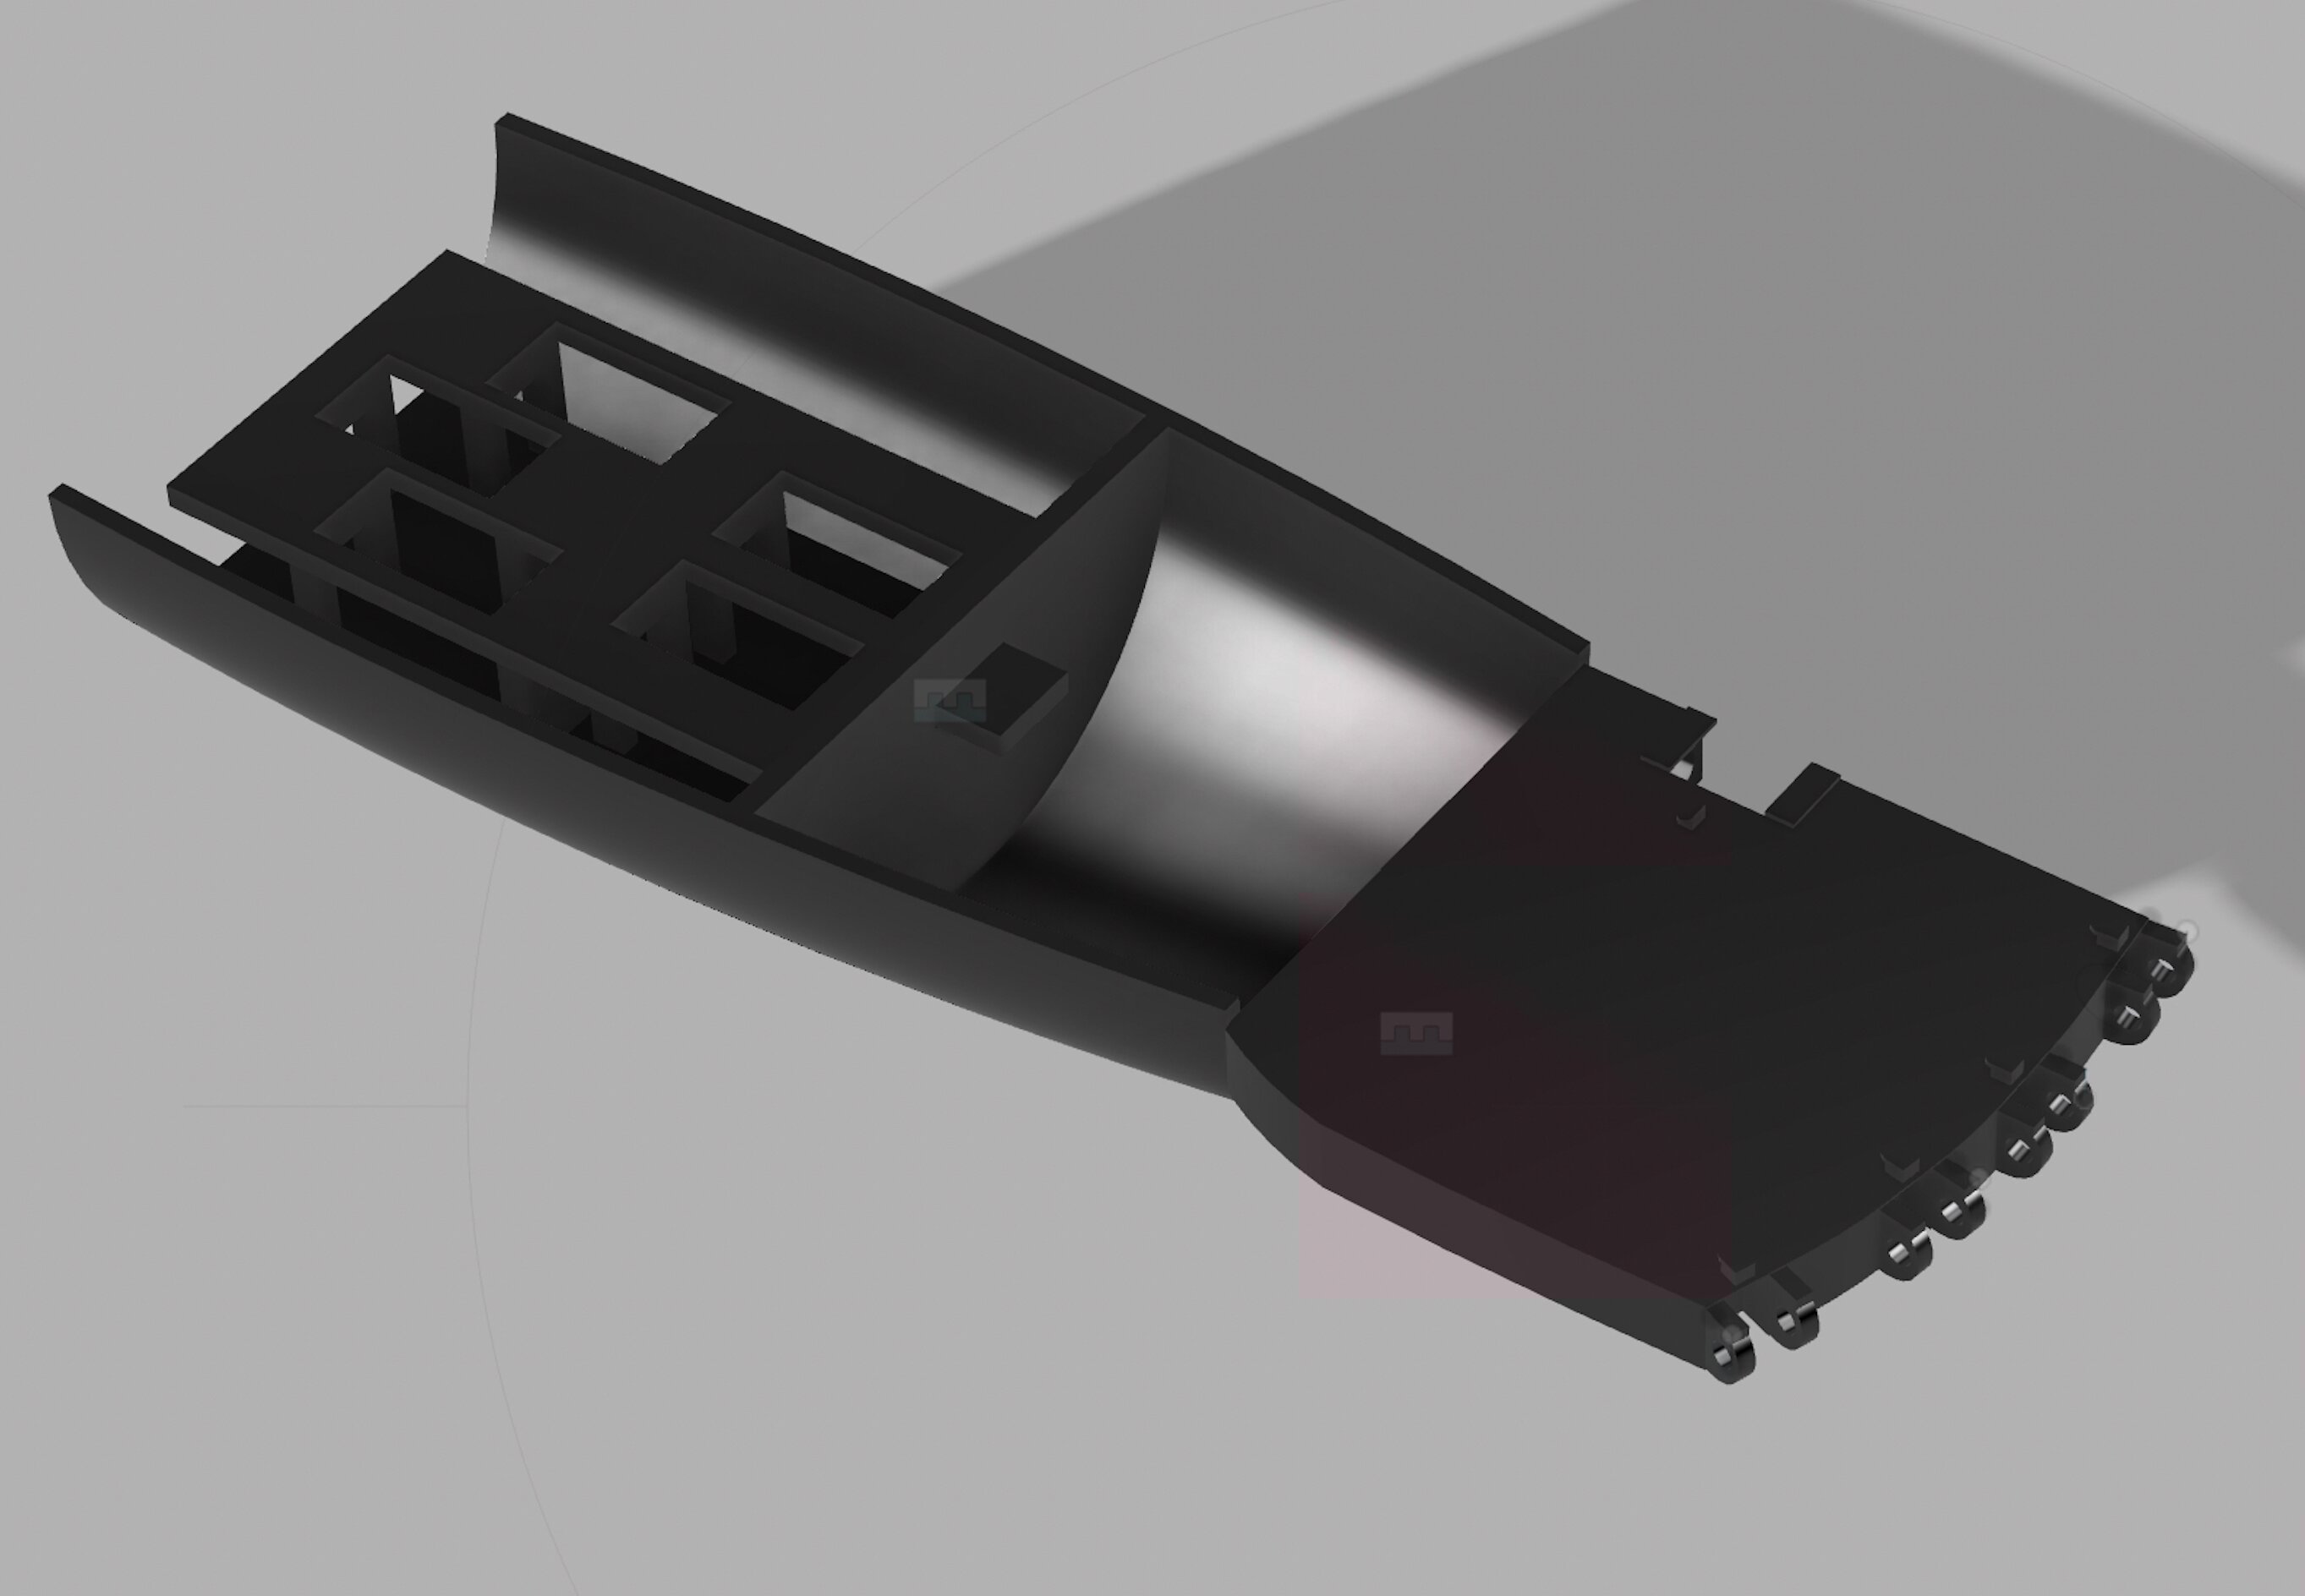
we’re in the low-fidelity prototype stage, working through iterations in fusion 360. each component balances functionality, manufacturability and ease of assembly.
iterative design evolution
forearm + servo mounting
first big challenge was figuring out where to put the servo motors and haptic feedback motors within the limited forearm space. went through several iterations testing servo orientations and mounting strategies.
key decisions:
- servos in the forearm to reduce weight in the hand itself
- individual servo mounts per finger for independent control
- integrated channels for fishing line routing: servo → palm → finger
- haptic motors positioned along the forearm for max sensation transfer
fingertip sensor integration
this took three major revisions before we landed something good.
- v1: direct adhesive mount. just glued the FSR sensor directly to the fingertip. simple, but the sensor was exposed and vulnerable. also looked rough.
- v2: surface mount with cover. mounted the sensor on the outer surface with a protective cover. made the fingertip bulky and force transmission was unreliable.
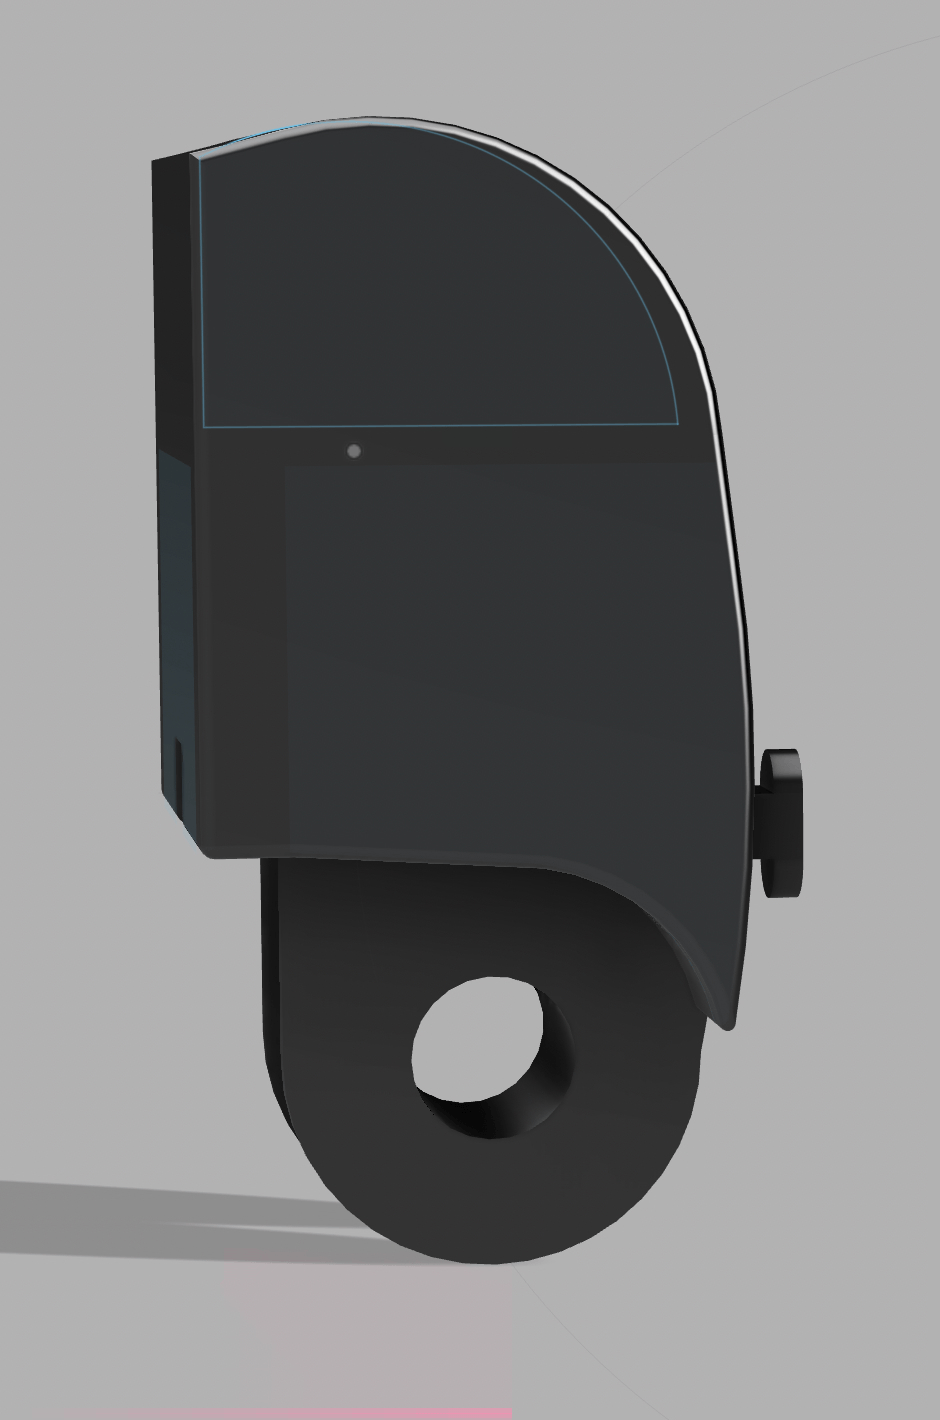
- v3: integrated mold (the keeper). molded cavity that encapsulates the FSR sensor inside the fingertip. the curved outer surface naturally channels force to the sensor while keeping it hidden and protected. looks professional, performs reliably.
phalange development
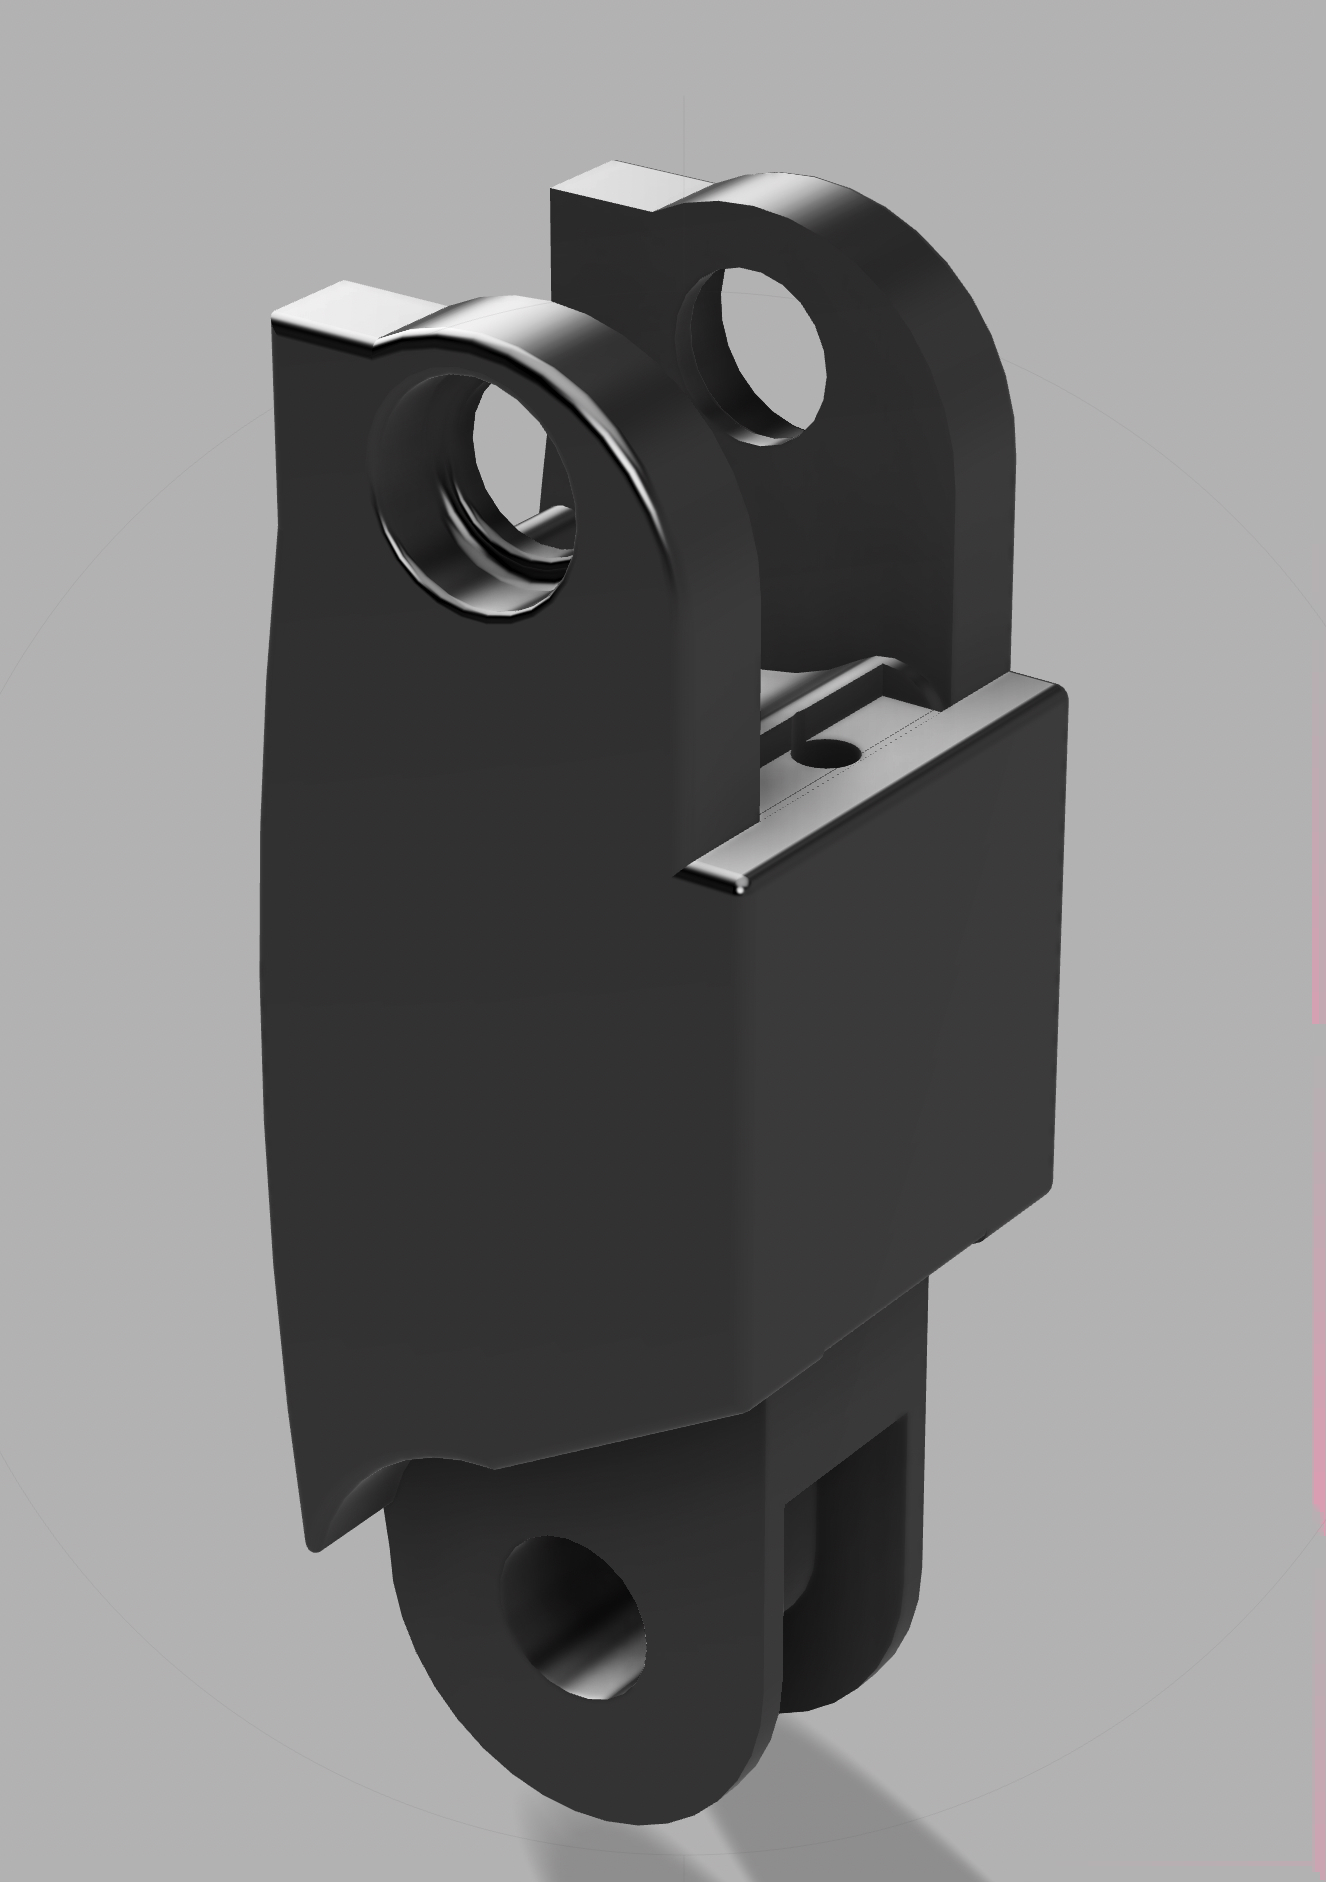
finger segments needed the most iterations: they integrate joints, actuation, and return mechanisms all at once.
problems solved:
- rubber band hooks. initial hooks were too shallow and rubber bands slipped off during movement. redesigned deeper and more secure.
- fishing line routing. hole placement was critical: too close to the joint and the line binds, too far and you lose mechanical advantage. iterated until it felt right.
- wiring channels. had to integrate dedicated channels for sensor wiring from the fingertips through each phalange, without interfering with fishing line or joint movement.
- joint mechanism. tested several joint designs before settling on male/female cylindrical connections with through-holes for metal rod pins. smooth rotation, easy assembly, durable.
testing + current status
component testing
haven’t assembled the full prototype yet, but we’ve been systematically testing components:
- FSR calibration. resistance meter testing confirmed reliable readings across the 0–10 N range we need.
- servo actuation. tested finger bending with different servo torques and line tensions for smooth movement without overloading.
- haptic feedback mapping. programmed arduino to map sensor values to PWM vibration intensity, tested several mapping algorithms.
- joint durability. cycled phalange joints through hundreds of repetitions: smooth rotation, no excessive wear.
what i learned
technical
- fusion 360 for complex assemblies with moving parts; design for 3d-printing manufacturability
- arduino + PID control for servo motors and real-time sensor processing
- FSR sensor work: resistance-to-force relationships, calibration
- joint mechanisms, actuation systems, design for assembly and disassembly
design process
- iteration is essential. the fingertip only worked on revision 3.
- test early, test often. testing components individually saved us from big late-stage flaws.
- balance complexity and functionality. trade-offs between ideal function and practical 3d printing.
- user-centered framing. kept asking “will this actually help someone use a prosthetic hand more effectively?”
collaboration
working with veer and eddie taught me a lot about collaborative engineering. divided responsibilities by strengths: i focused on mechanical design and CAD, they handled electronics integration and programming. regular team meetings kept us aligned and caught design conflicts early.
next steps
- complete low-fi assembly. 3d print and assemble all components for our first working prototype.
- system integration testing. sensors, actuators, and feedback all working together.
- control algorithm refinement. tune PID + haptic mapping from real-world performance.
- user testing. get feedback from potential users or occupational therapists.
- medium-fidelity iteration. redesign problem areas and move to more refined fabrication.
- grip testing. evaluate grasping different objects (soft/hard, light/heavy) and tune force sensing.