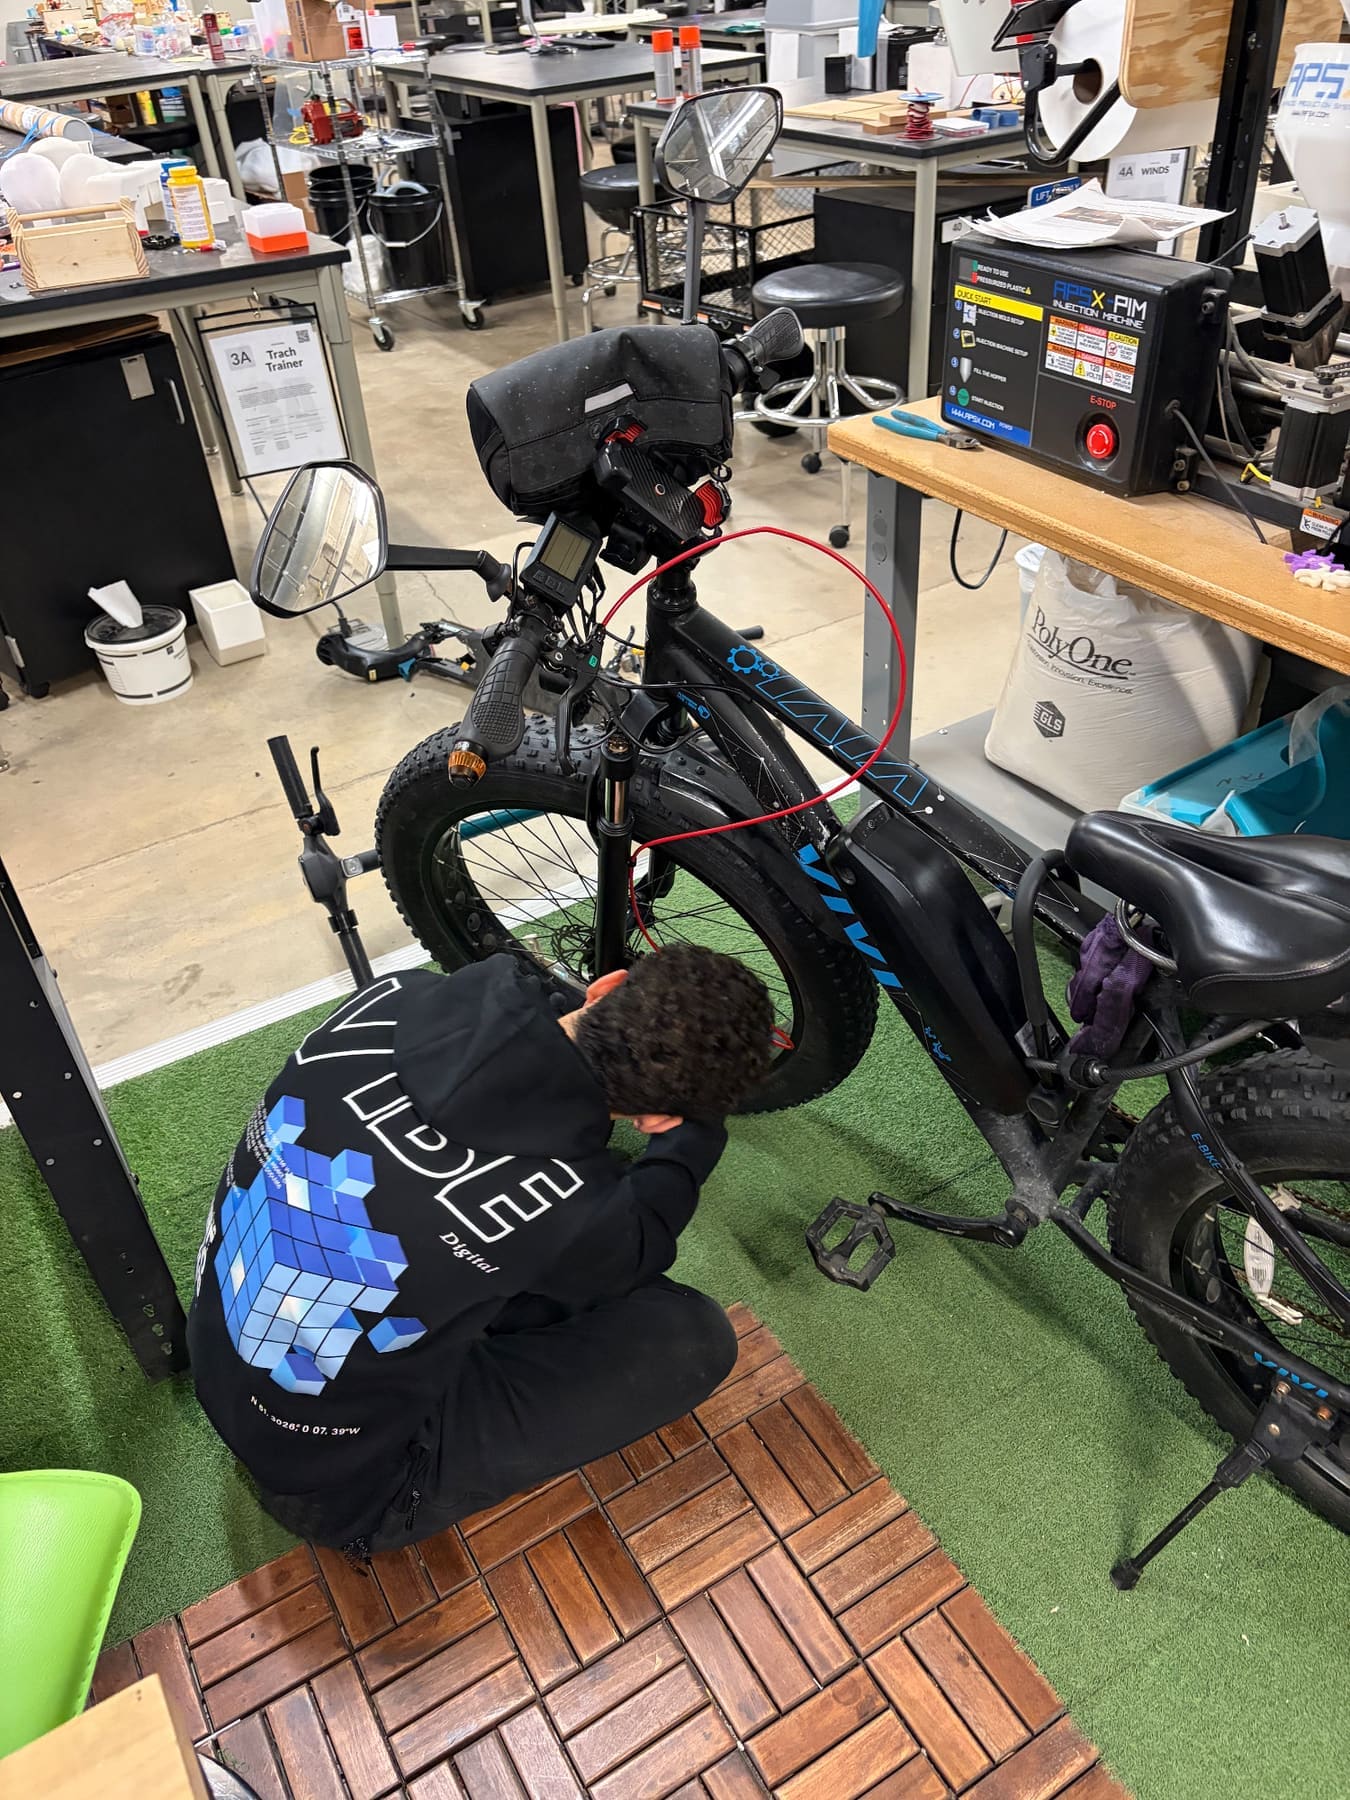
FIG. 04 · CUSTOM ELECTRIC BIKE
custom electric bike
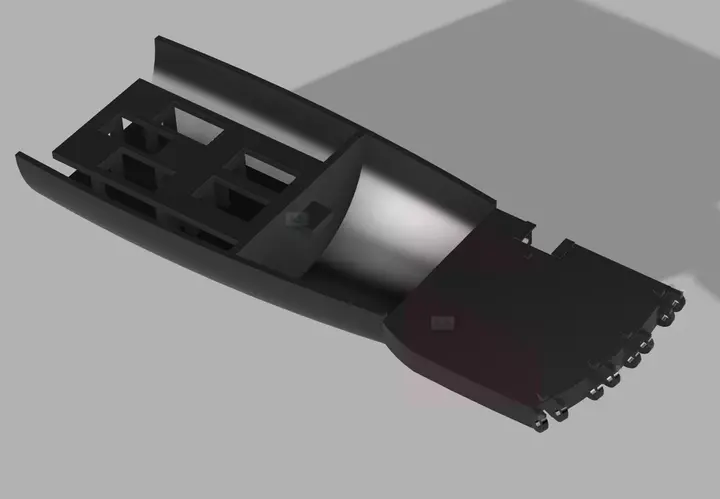
bought the parts separately and assembled it from the frame up. added carbon fiber weight reduction and a 5-iteration TPU thumb throttle along the way.
why build instead of buy
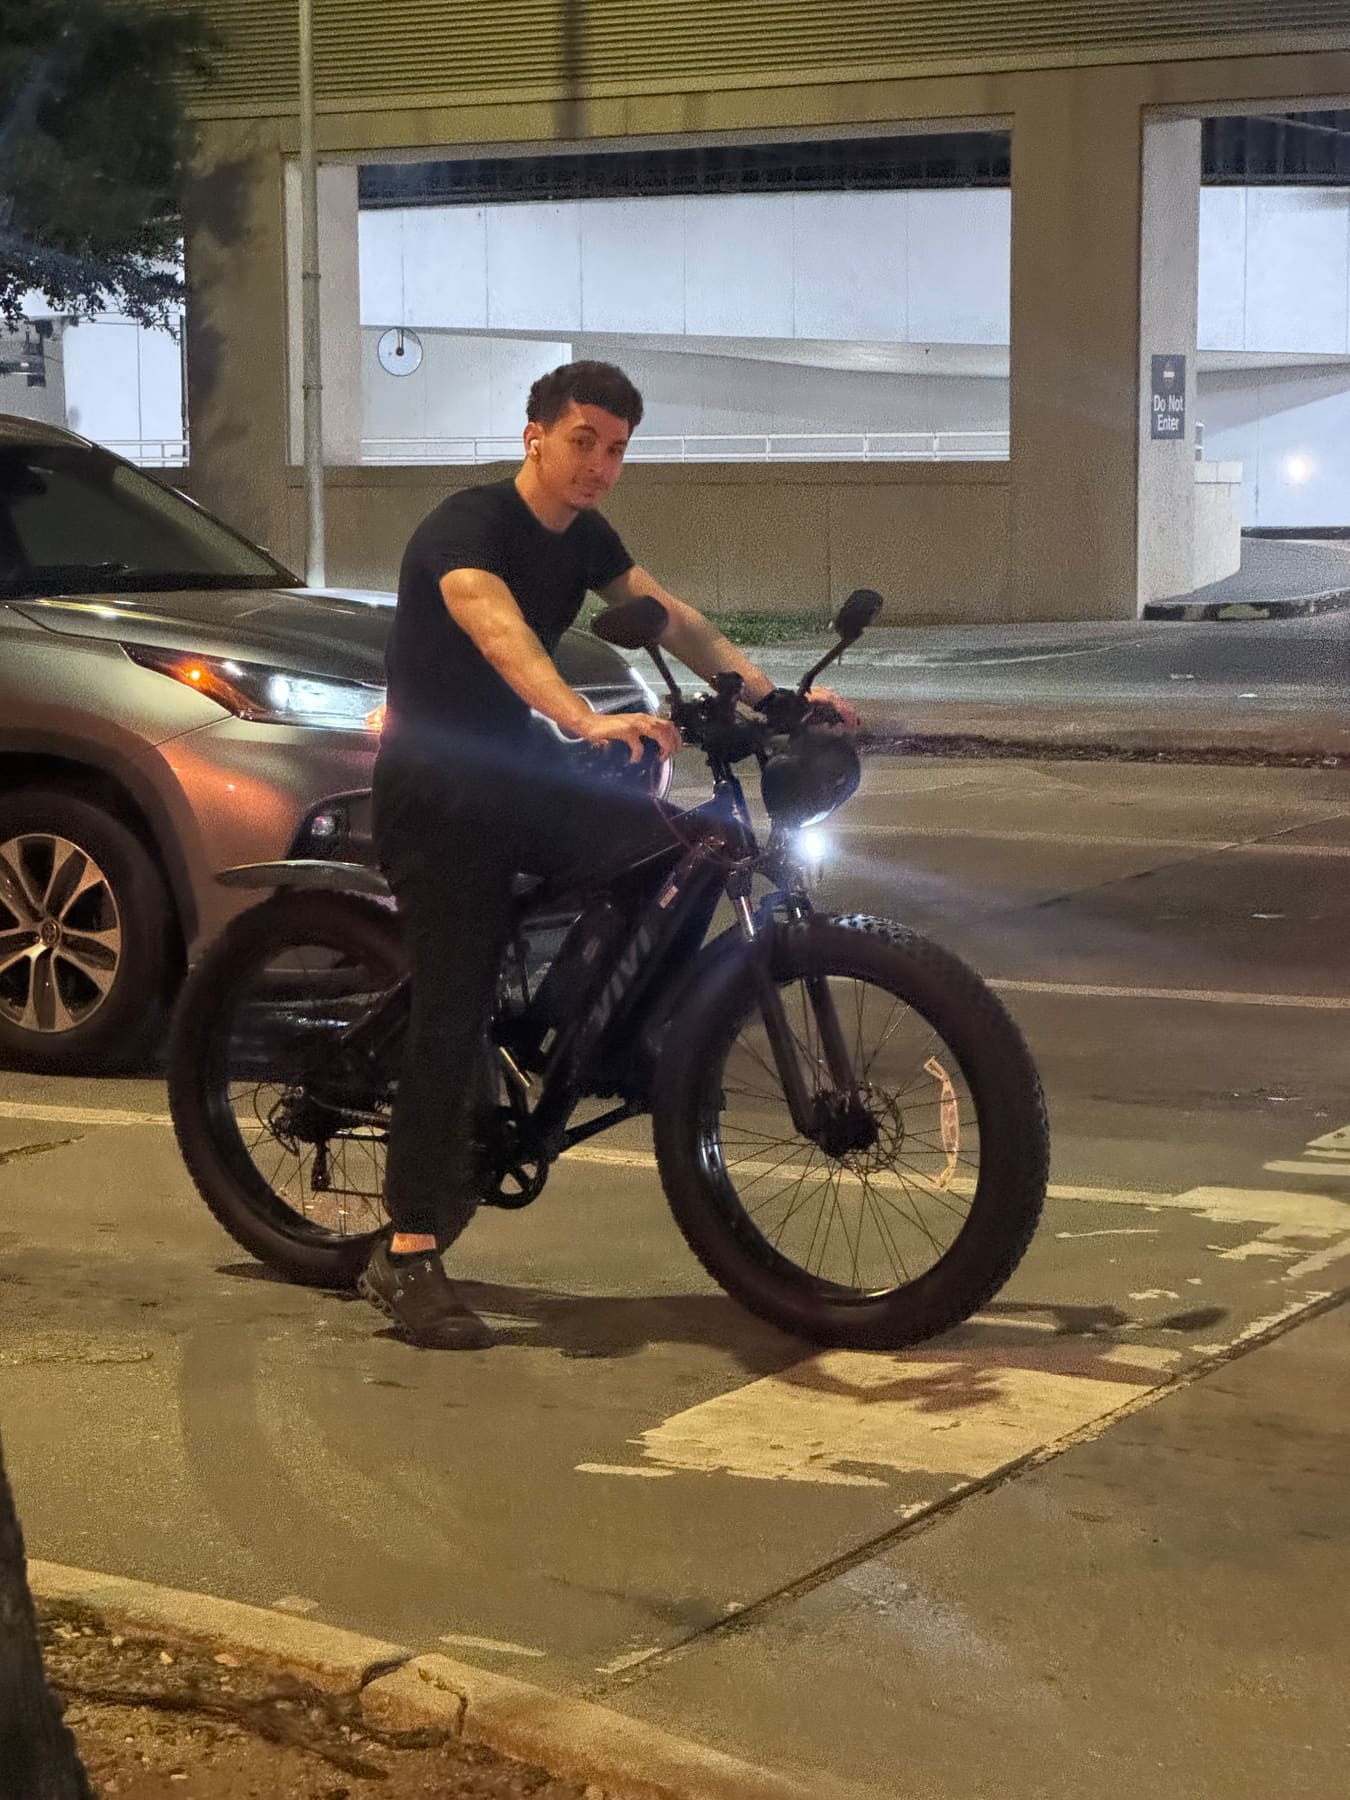
why buy an e-bike when you can build one yourself? that was the mindset. i purchased individual components of a fat tire e-bike and challenged myself to assemble it from scratch. as a mech-e student who loves building, this was the perfect hands-on project that combined design with a real need: reliable transportation around rice’s campus.
what started as a campus commuting solution evolved into my primary mode of transportation. for the past two years, this bike has been my daily driver: off-campus housing to classes, the gym, around houston on public roads. the 10-minute commute beats walking or waiting for buses, and the custom mods have turned it into a truly personalized machine.
by the numbers
- ~$1k
- TOTAL BUILD COST
- 2 yrs
- DAILY USE
- 28 mi
- RANGE PER CHARGE
- 10 min
- COMMUTE TIME
- 18%
- WEIGHT REDUCTION
base components
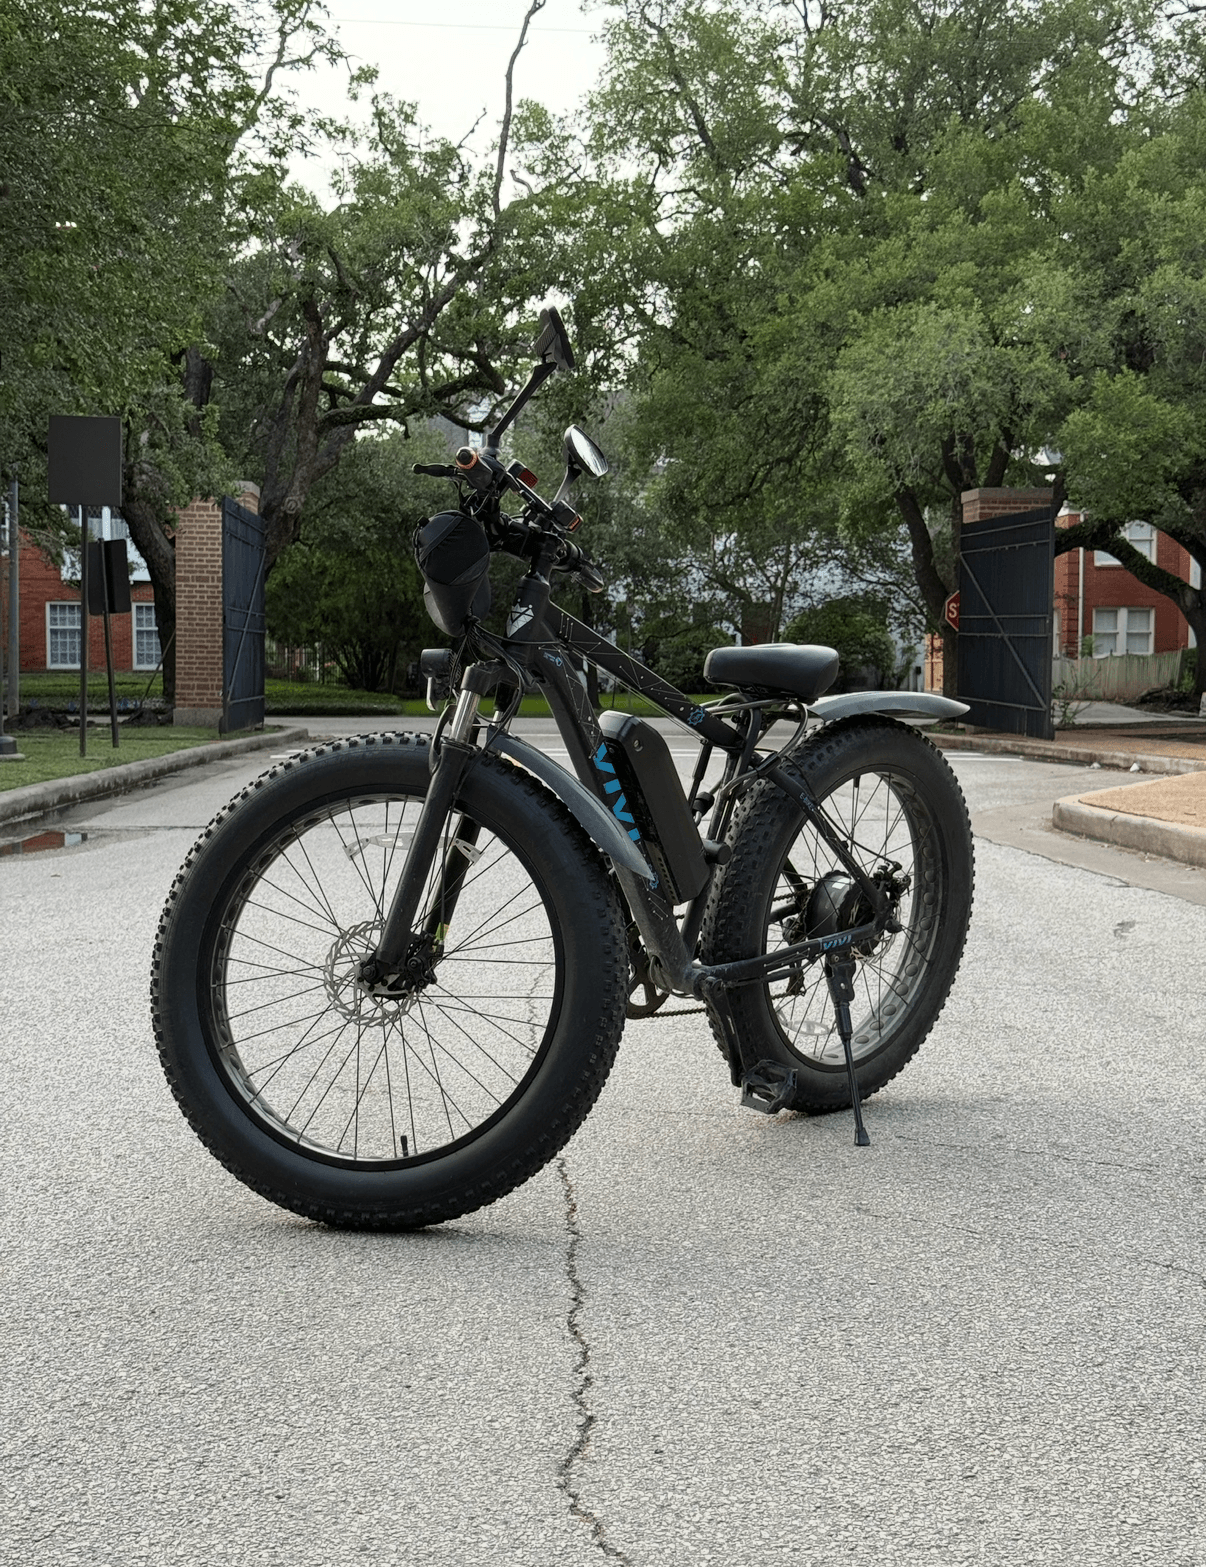
i selected components based on extensive research of the vivi f26ful fat-tire platform. studied the manufacturer specs and several user builds. the fat-tire design was a fit for houston’s varied terrain and the occasional rough road.
key specs:
- 1000W brushless motor for solid acceleration
- 48V battery system, 28-mile range
- fat tires for stability and comfort
- front suspension fork (later upgraded after the accident)
- cable disc brakes
the build
initial assembly
purchased all components separately and assembled the bike from the ground up. this taught me every detail of how the bike works: motor controller wiring, brake cable routing, the works. that deep understanding has been invaluable for troubleshooting and modifications.
carbon fiber weight reduction
after a few months of use, i identified weight as a key area for improvement. the stock components were functional but heavier than necessary, hurting acceleration and battery efficiency. rice has a carbon fiber 3d printer in the engineering facilities, a resource i couldn’t pass up.
why carbon fiber:
- material properties. exceptional strength-to-weight ratio. strong under tension, much lighter than aluminum or steel.
- access. rice’s carbon fiber 3d printer meant i could prototype and produce parts without expensive outsourcing. iterate quickly, affordably.
swapped to carbon fiber: seat post, handlebars, various mounting brackets and accessories.
result: 2.3 lb / 18% overall weight reduction. small on paper, but on an e-bike every pound matters for battery efficiency and handling. the bike accelerates noticeably quicker and feels more responsive.
custom thumb throttle
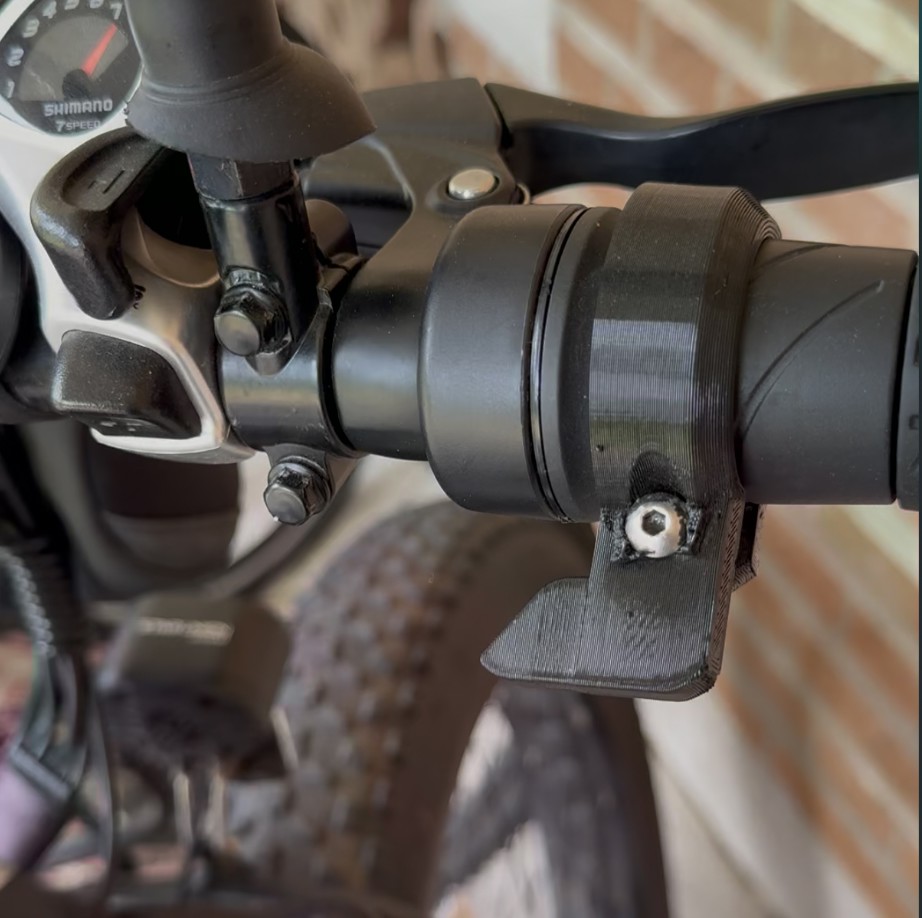
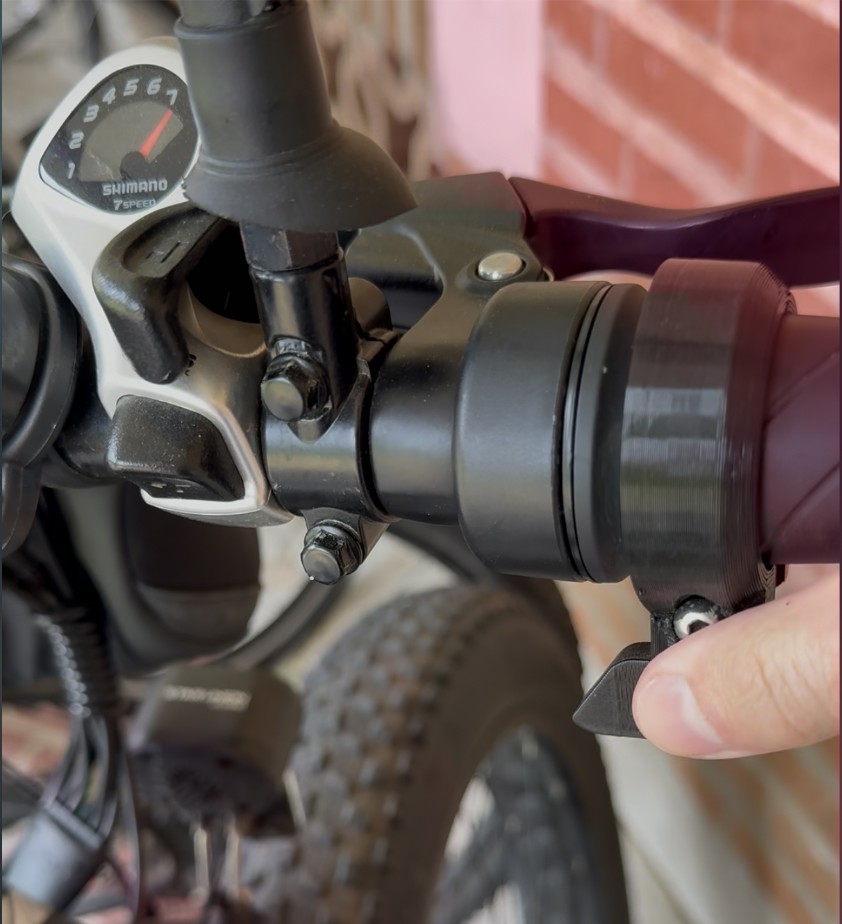
the stock wrist-twist throttle worked, but i found it uncomfortable on long rides and hard to modulate at low speeds. so i designed and 3d-printed a custom thumb throttle.
the iterations
- v1, PLA prototype: too rigid, cracked under repeated thumb pressure.
- v2, initial TPU: switched to TPU for flexibility + durability. comfortable on the thumb, but too bulky.
- v3, size optimization: reduced overall dimensions while keeping structural integrity. tested thumb-contact surface sizes.
- v4, mounting refinement: developed a screw-based tightening mechanism for tool-free install / remove.
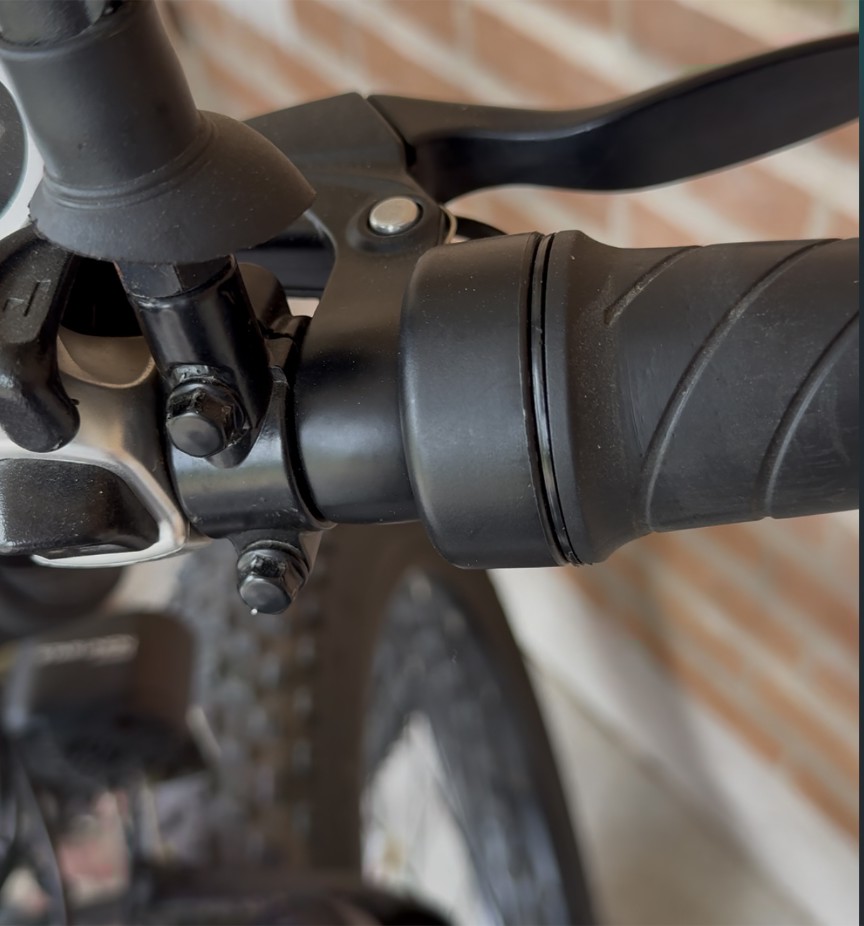
- v5, grip integration (final): the final version uses TPU’s natural coefficient of friction to grip the original throttle. no adhesives, no permanent mods.
net wins:
- comfortable thumb surface that doesn’t fatigue
- excellent grip, no slipping even in rain
- durable through thousands of actuation cycles
- removable for maintenance
ongoing maintenance + the accident
maintenance routine
after two years of daily use, i’ve developed a maintenance routine that keeps the bike running reliably:
- monthly: replace brake pads (houston stop-and-go burns them fast)
- as needed: replace brake cables when fraying shows up on a visual check
- weekly: tire pressure, chain lube, bolt tightness
- quarterly: full system check: electrical connections, battery health
the accident + fork upgrade
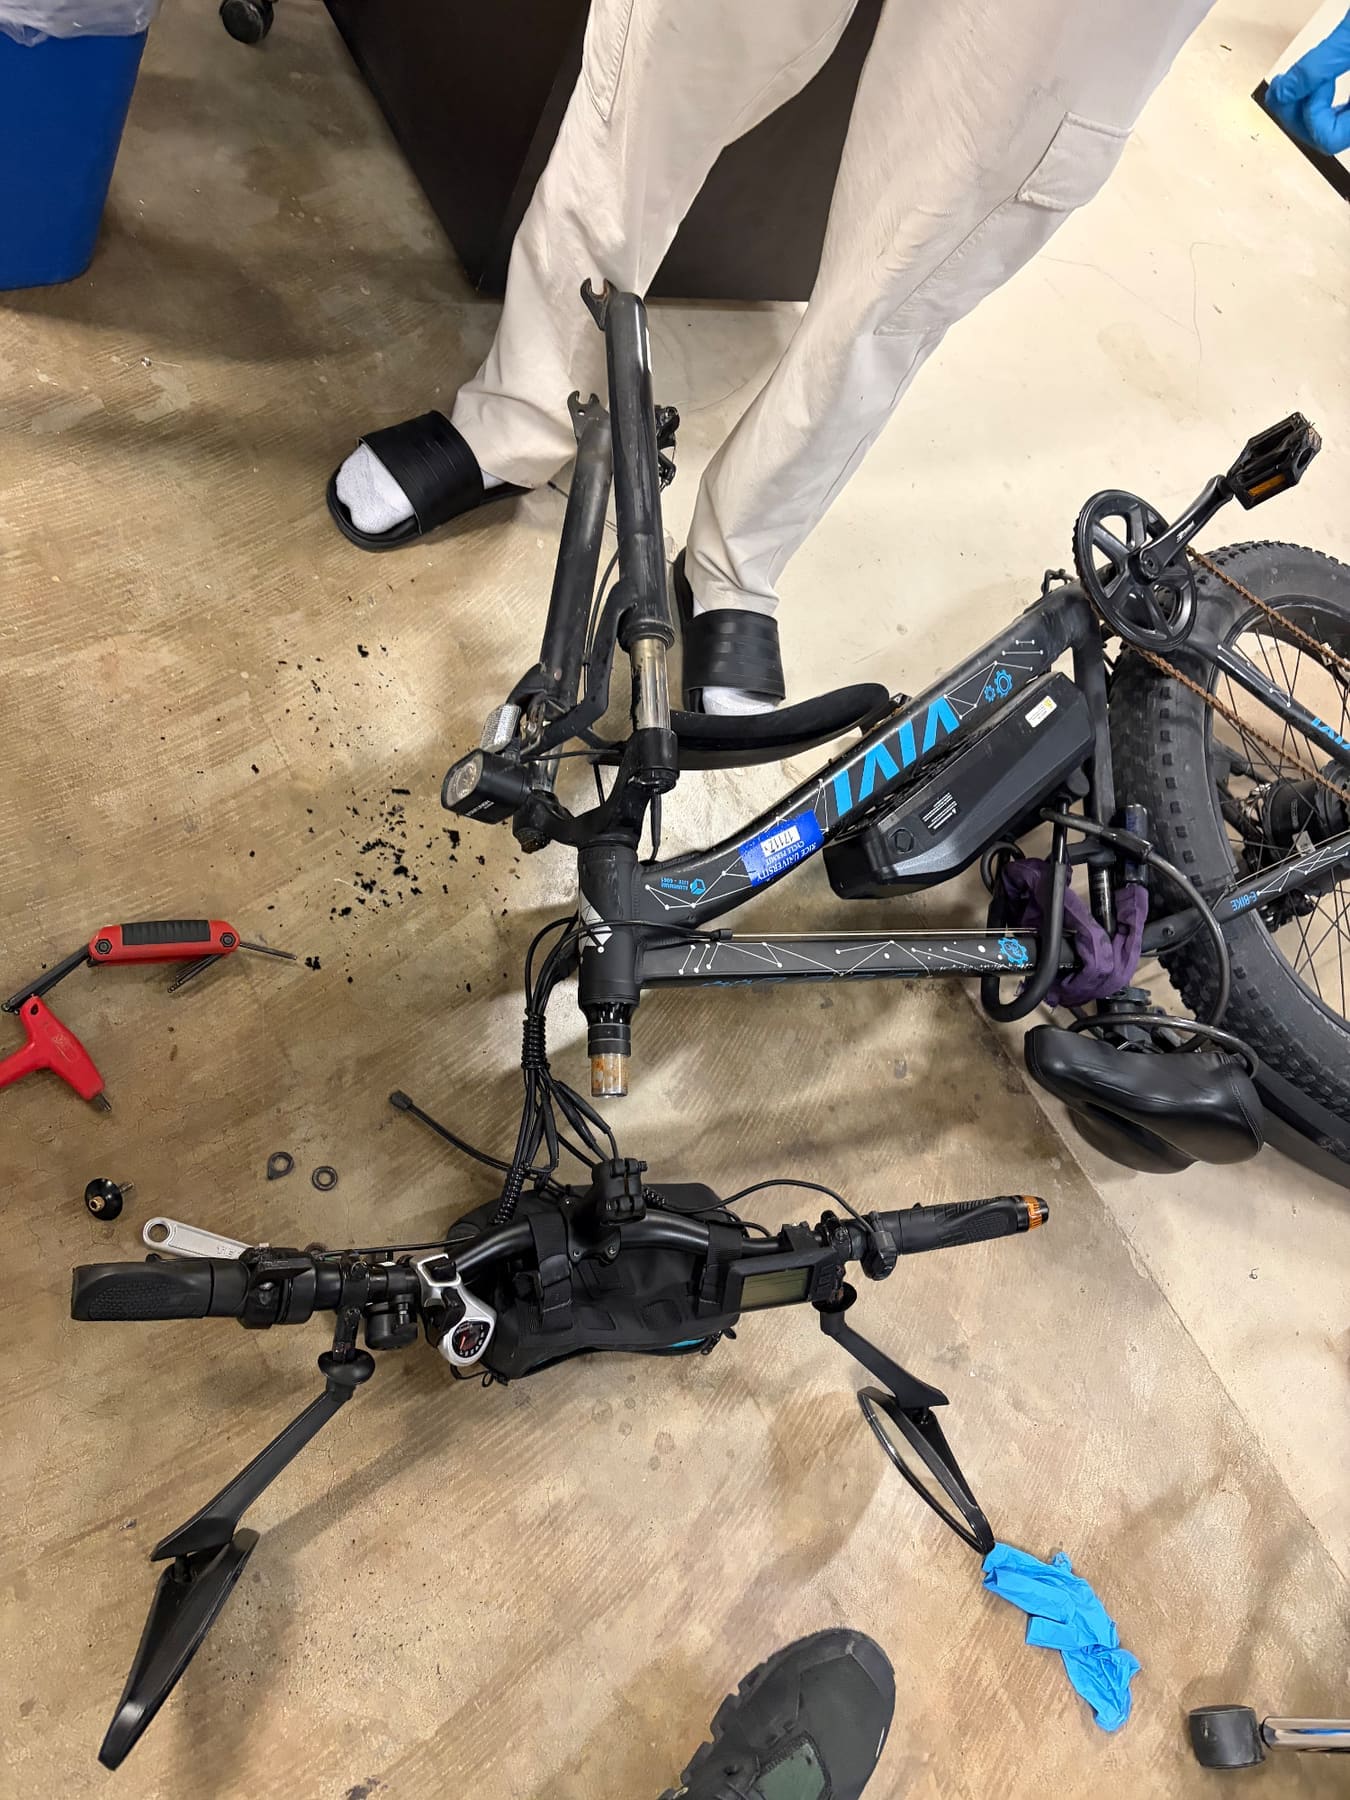
about a year into daily use, i was in a bike accident that damaged the front fork suspension. rather than swap in another stock part, i upgraded to a higher-quality fork with better damping.
brake system experiments
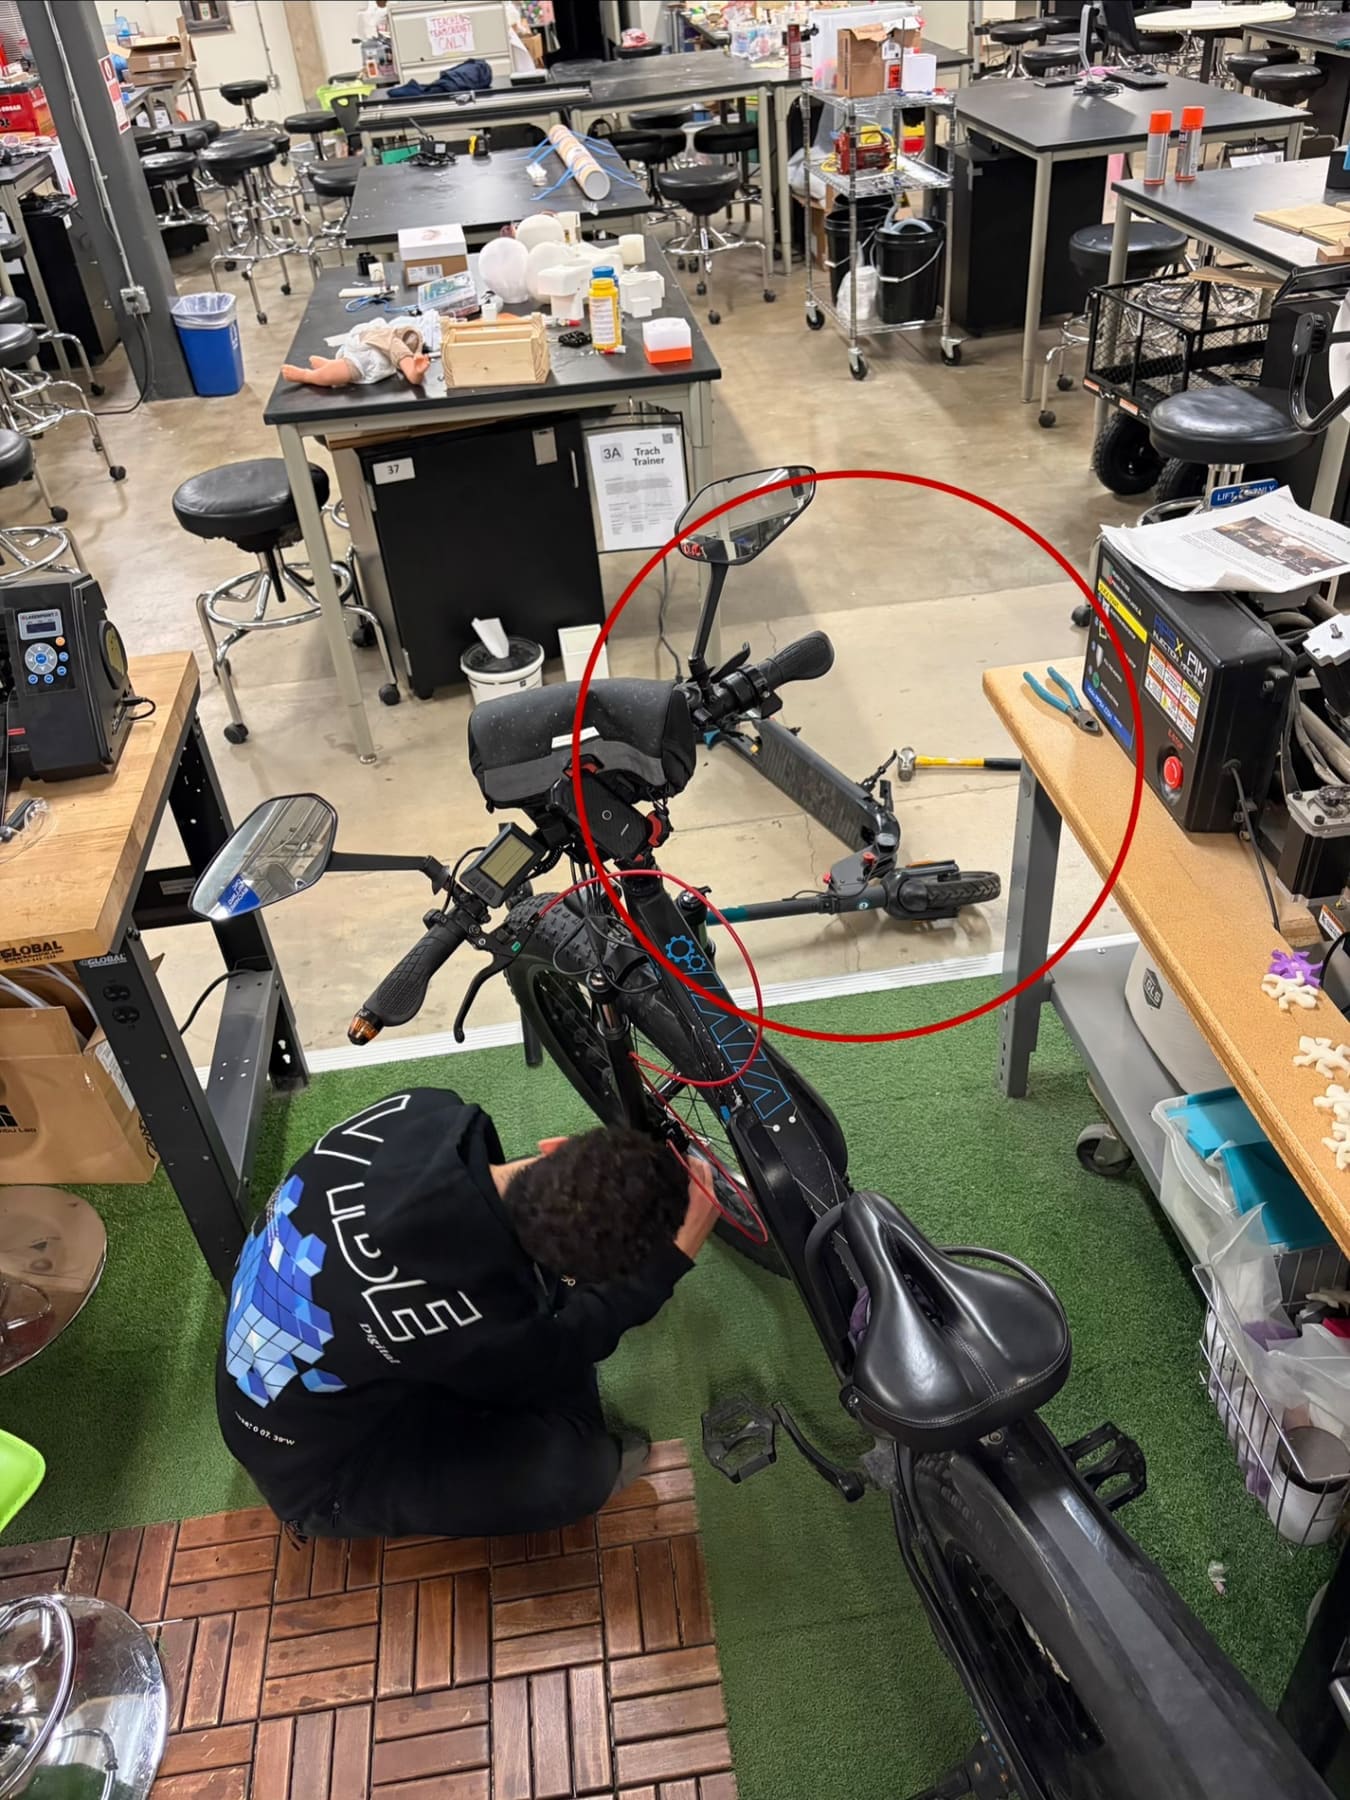
recently i’ve been experimenting with different brake configurations using recycled materials from a broken electric scooter: testing brake pad materials and caliper positions to understand how they affect stopping power and modulation. hands-on practice with cable brake systems.
real-world performance
year 1. on-campus commuting
my first year with the bike i lived on campus, so it was mostly classes + gym. the fat tires + electric assist made rice’s tree-lined paths comfortable and fast, even with a heavy backpack.
year 2. off-campus transportation
now that i live off-campus, the bike is my primary mode of transportation. 10-minute commute on public roads, faster than driving and finding parking. the 1000W motor handles houston’s heat and headwinds without issue, and the 28-mile range means i rarely worry about charging during the week.
houston weather
- heat: 95°F+ summer regular and performance is fine. battery and motor stay cool with good airflow.
- rain: TPU throttle and electricals have proven water-resistant. ride in light rain without issues.
- humidity: have to pay extra attention to metal components (chain, brake cables) for rust.
what i learned
technical skills
- working with high-voltage DC systems (48V), motor controllers, electrical troubleshooting
- real bike mechanics: headsets, bottom brackets, brake bleeding, derailleur adjustment
- material selection intuition (stiffness vs flexibility, weight vs strength)
- 3d printing for functional parts that have to survive real-world stress, not just decoration
- iterative design: the first version is never the final one
design process
- research before building. studying the vivi platform first saved me from compatibility issues.
- incremental improvements. one upgrade at a time, learn from each.
- real-world testing. lab can’t replicate houston traffic, summer heat and daily wear.
- document everything. maintenance intervals + component lifespans taught me a lot about failure modes.
future improvements
- battery upgrade. higher-capacity cells to extend the 28-mile range.
- regenerative braking. motor controllers that support regen for efficiency and brake wear.
- custom lighting system. integrated lights with better visibility than aftermarket clip-ons.
- aerodynamic tweaks. not critical at e-bike speeds, but marginal range gains.
- suspension tuning. fine-tune the upgraded front fork for my weight and riding style.